
Last updated November 15, 2026
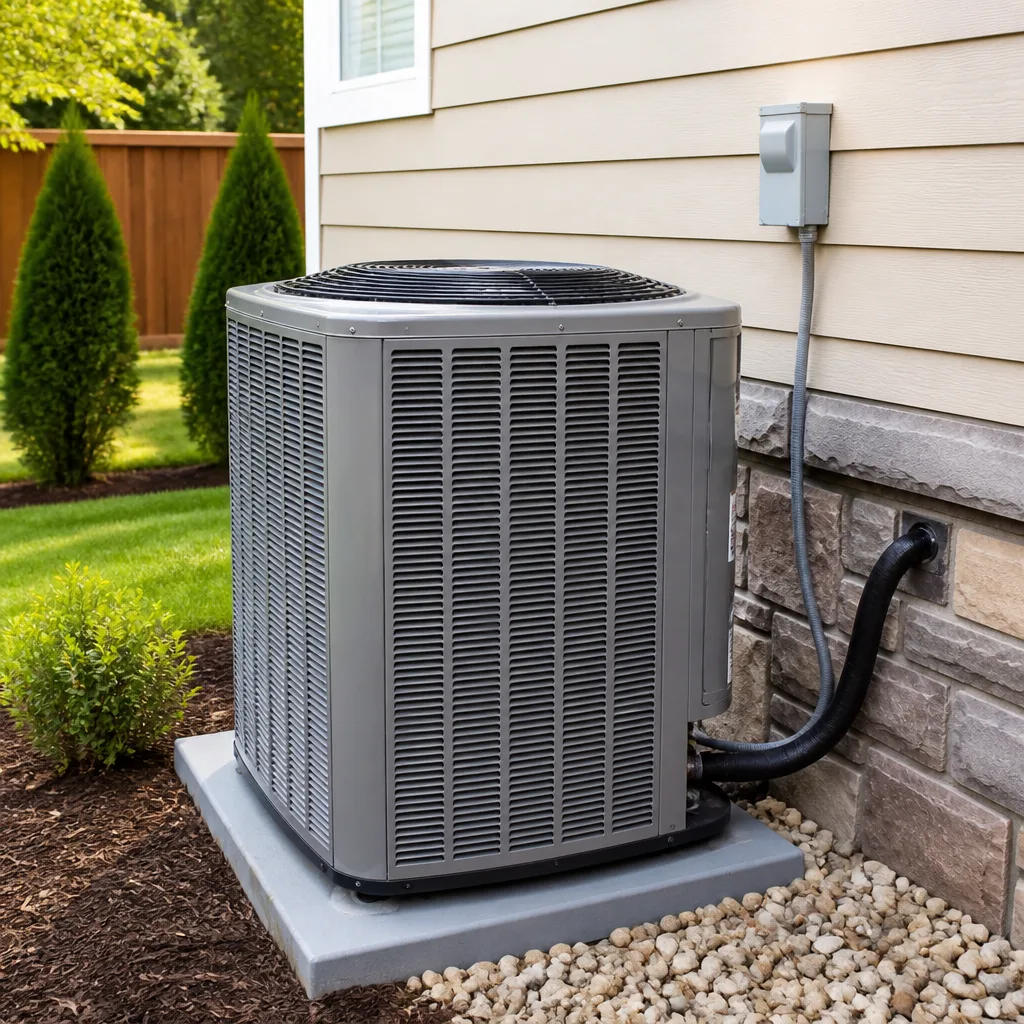 AC repair
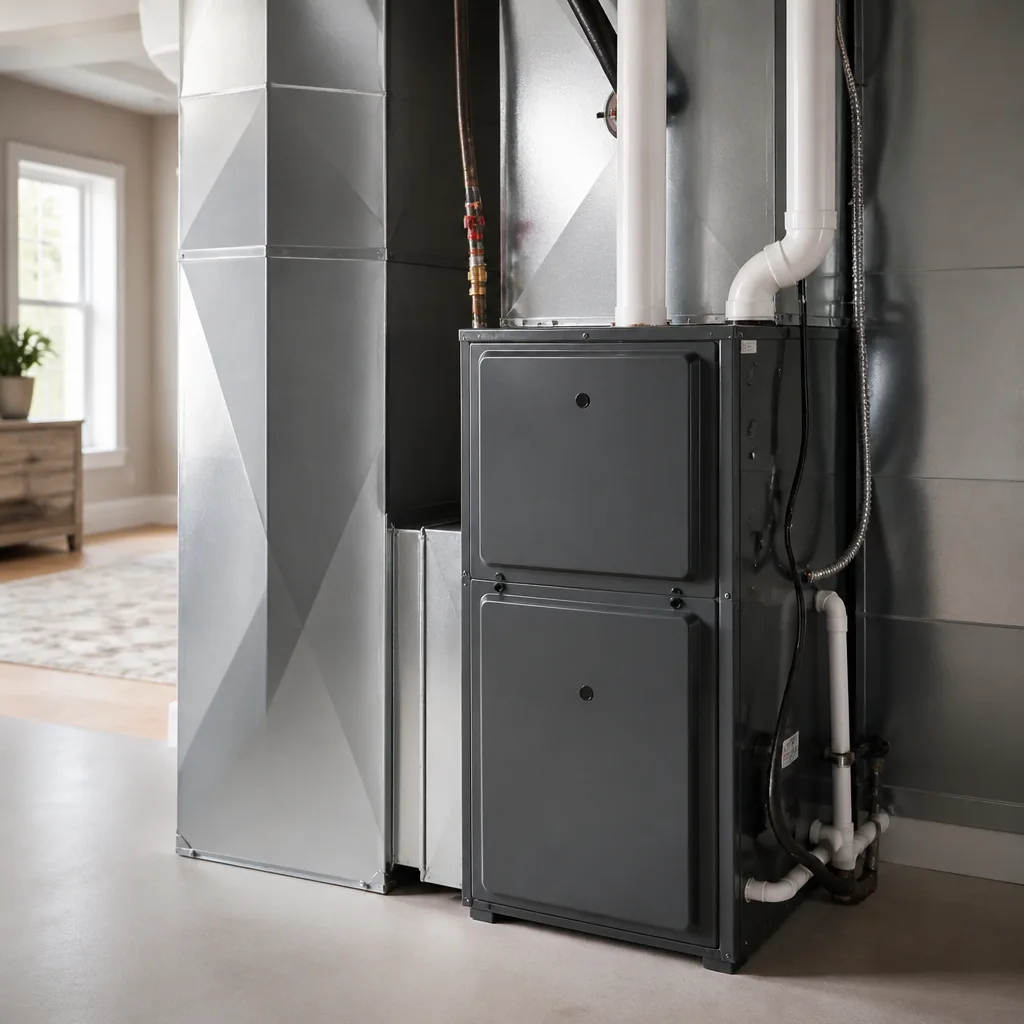 Furnace & heating
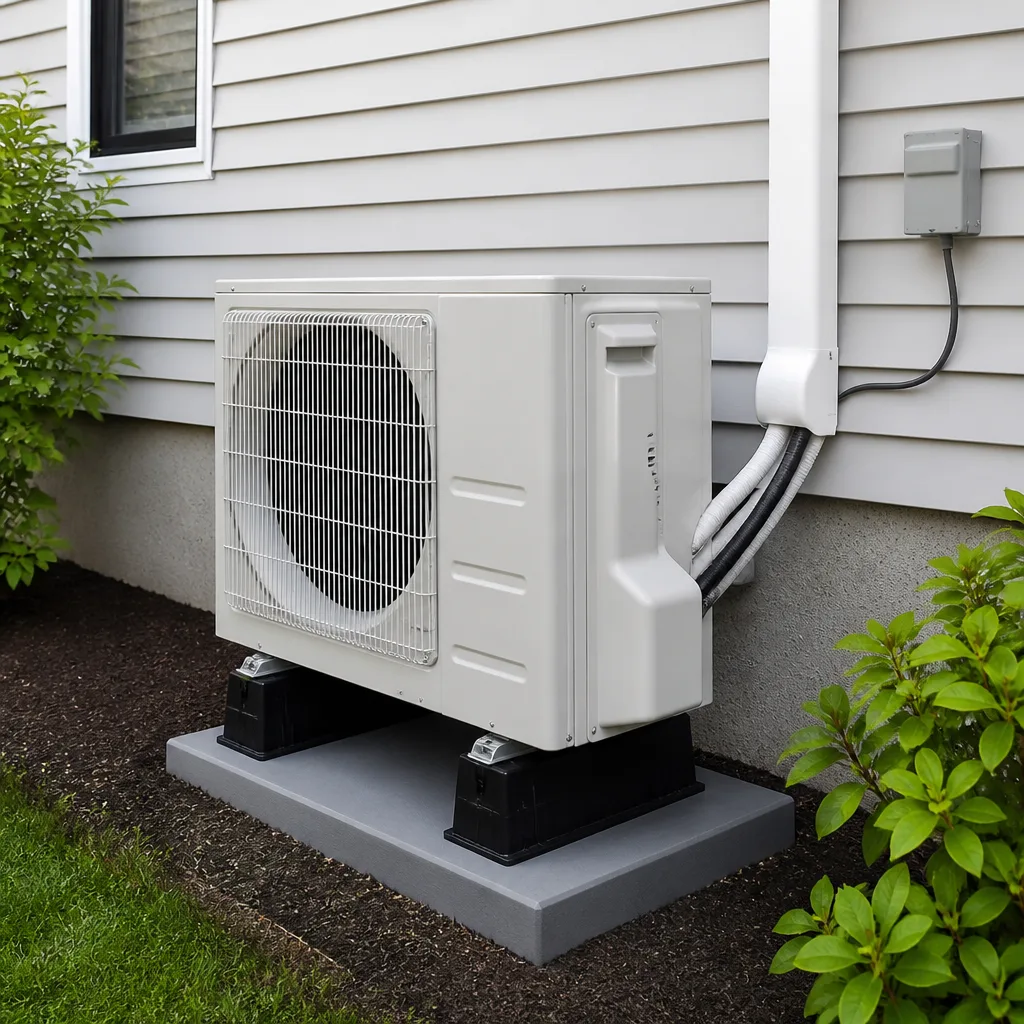 Heat pumps
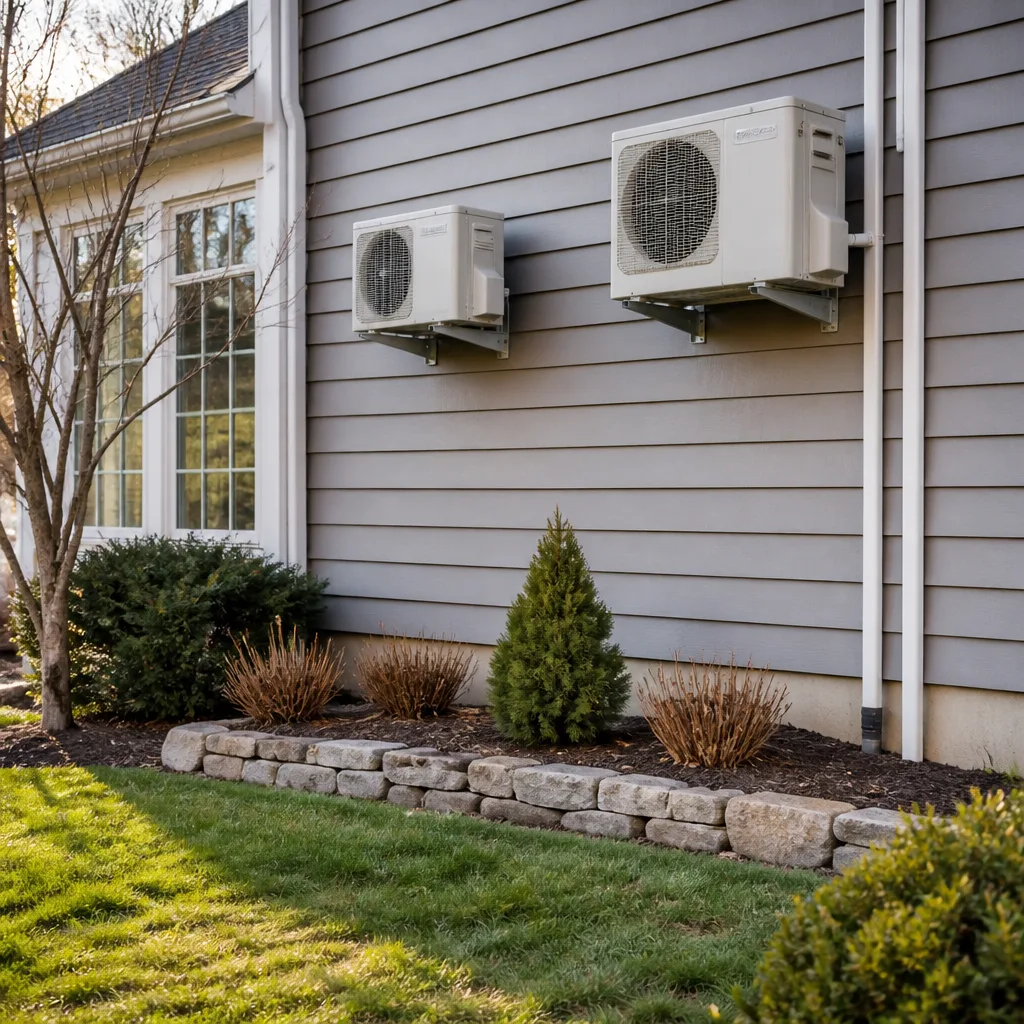 Ductless mini splits
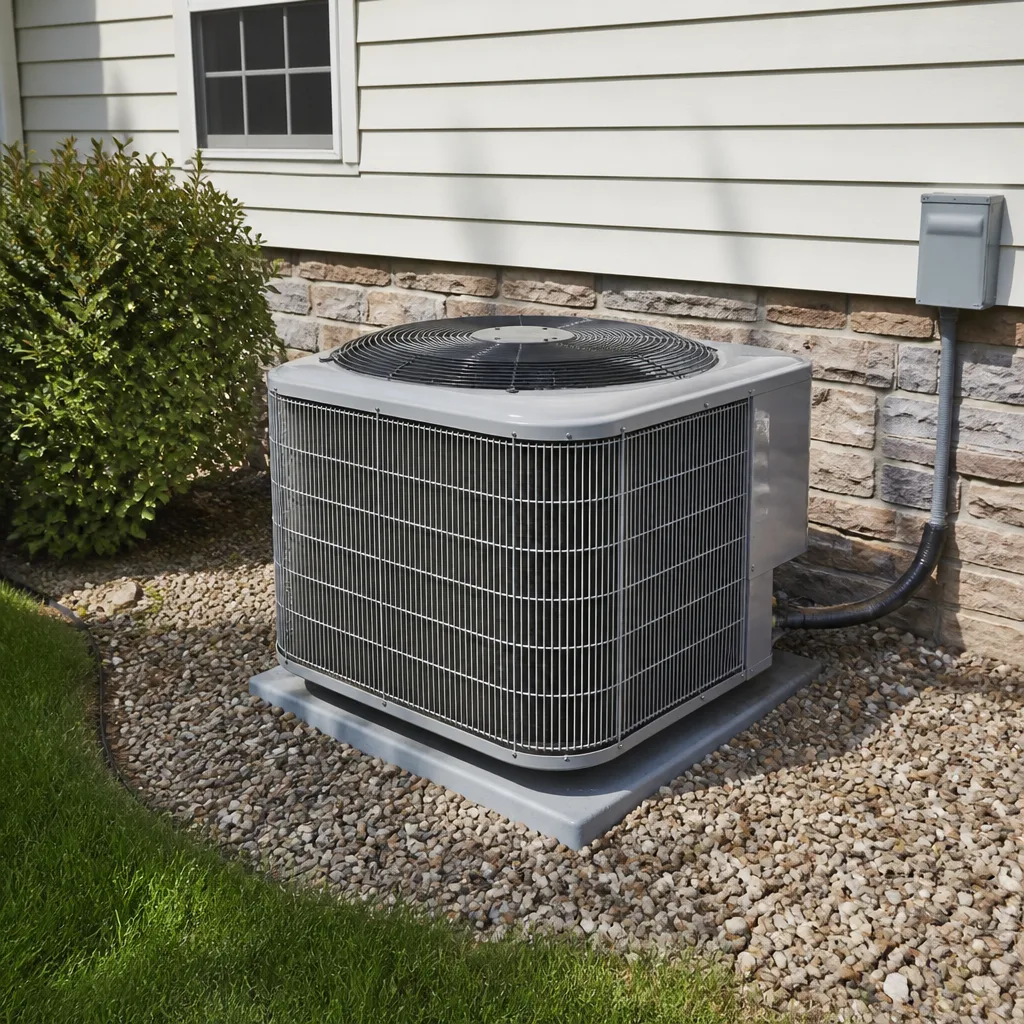 Carrier
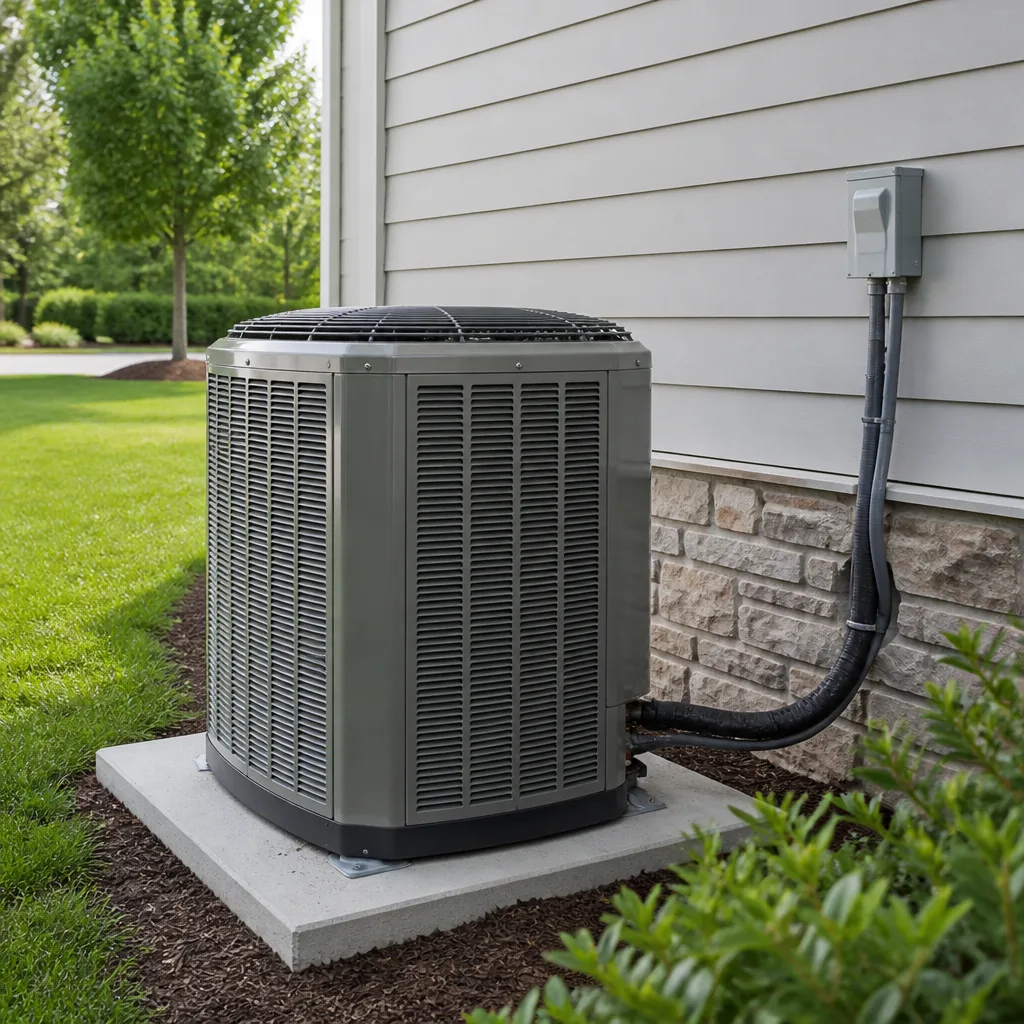 Trane
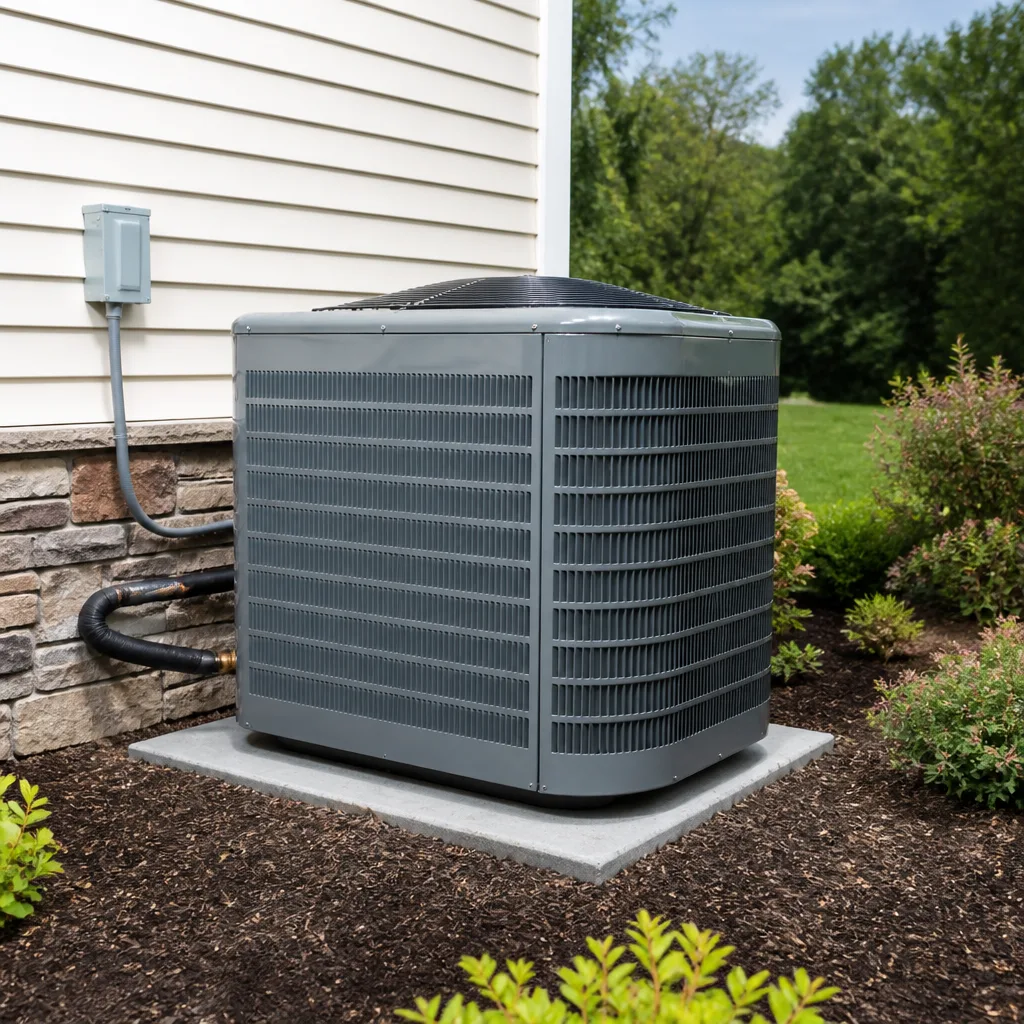 Goodman
Seasonal tune-up and full diagnostic on your Carrier, Trane, or Goodman system - readings shown to you before any repair is proposed
Diagnosis first, numbers second - you approve the repair price before a single part goes in.
Get your free estimateAC Repair Maintenance Checklist for Hayward Homeowners
Most AC advice you’ll read was written for Phoenix or Dallas, where the machine runs hard every single day of summer. Hayward isn’t that climate. We average fewer than 10 days above 90°F a year, and the Bay’s cool marine layer means your system may sit idle for weeks between uses. That idle time is where trouble hides. A capacitor quietly weakens, a blower motor settles, refrigerant pressure drifts, and you don’t find out until the first hot weekend when everyone else’s unit is also failing. This guide is a maintenance checklist sequenced around Hayward’s actual weather calendar: what to do before June, what to watch through September, and what to document so a technician can diagnose your system correctly on the first visit.
Quick Answer
A solid AC maintenance checklist for a Hayward homeowner has three phases: a pre-season check in late spring (filter, outdoor coil, capacitor, refrigerant baseline), a mid-season check in July and August (coil cleaning, condensate line, thermostat), and a post-season check in October (blower motor, contactor wear, a written log of anything unusual). The single most valuable habit is keeping a written record of how your system behaves, because that record turns a vague “it’s not cooling” call into a fast, accurate diagnosis.
Styles & brands we work with
- AC repair
- Furnace & heating
- Heat pumps
- Ductless mini splits
- Carrier
- Trane
- Goodman
Table of Contents
- Why a Hayward AC Checklist Is Different From a National Template
- The Pre-Heat-Event Checklist: Late May Through Early June
- Dormant-Season Checks for a System That Sits Idle
- Inspecting the Outdoor Condenser Coil for Moisture and Corrosion
- Filter Replacement Intervals for Hayward’s Dust Load
- Mid-Summer Checks: July and August
- Post-Season Shutdown Checklist: October
- What to Document so a Technician Diagnoses Correctly
Why a Hayward AC Checklist Is Different From a National Template
National HVAC maintenance advice usually assumes two things: a brutal summer and a hard winter. Hayward has neither. Our cooling season is moderate and our heating season is mild, which changes what matters. The system here doesn’t wear out from constant load; it wears out from sitting. A unit that runs four hours a day for 90 straight days compresses a season of wear into a predictable pattern. A unit that runs two hours a day, then nothing for three weeks, then six hours, then nothing again, develops a different set of problems: capacitors drift out of spec without the daily exercise that would show symptoms early, blower motors accumulate dust in the off months, and refrigerant charges drift in ways nobody notices until the first real heat event.
Hayward’s position on the East Bay also matters. The marine layer pushes cool, humid air inland through the Hayward hills most summer nights, and that moisture settles on condenser coils, contactor points, and electrical connections. It’s not a coastal corrosion problem, but it is a moisture problem, and it’s why our outdoor coil inspections look different from what a dry-inland checklist would recommend.
If you want a professional to walk the checklist with you, AC Repair Hayward handles residential cooling and heating for homeowners across the city.
The Pre-Heat-Event Checklist: Late May Through Early June
The right time to service a Hayward AC is late May to early June, before the first sustained warm stretch. The goal is to confirm the system will run reliably through the June-to-September window, not to fix something that’s already broken. Work through these steps in order.
- Replace the air filter. Start here because every other reading is distorted by a clogged filter. Write the date on the filter frame with a marker.
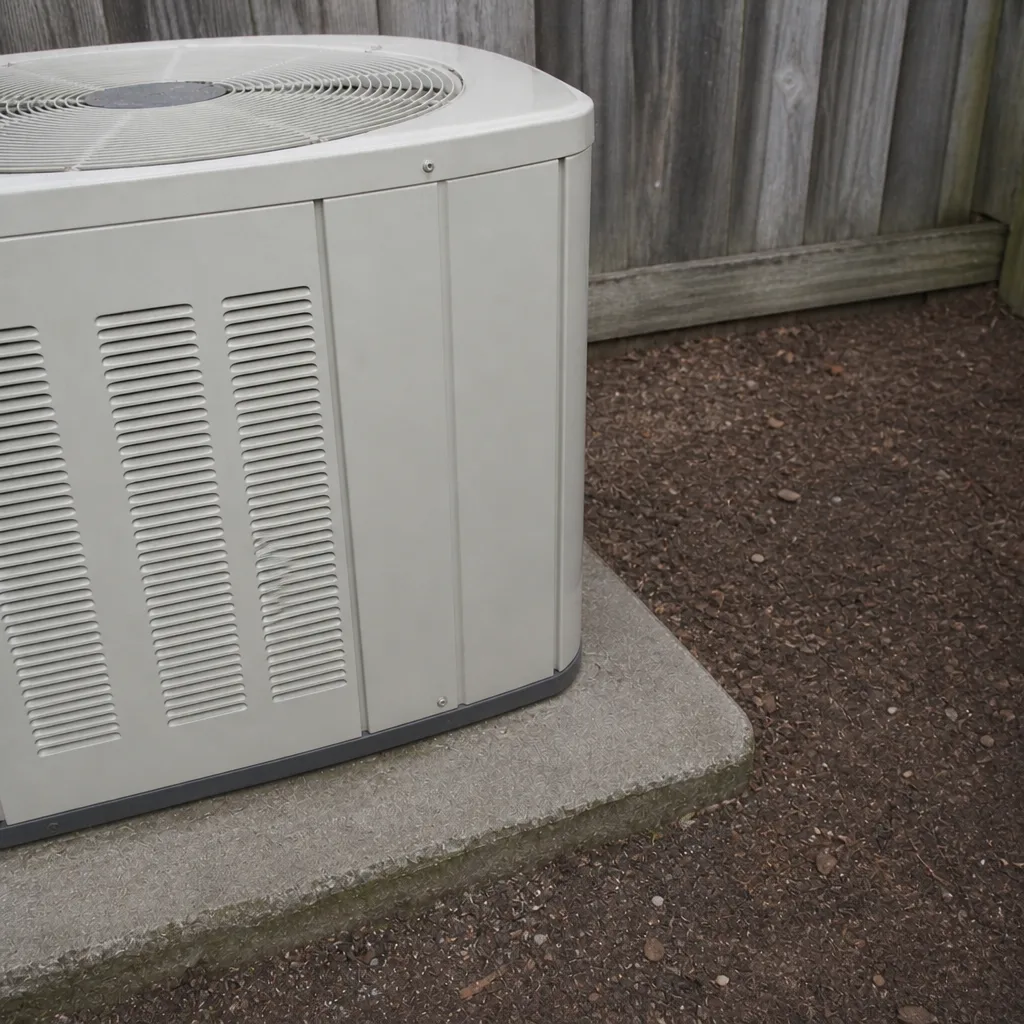
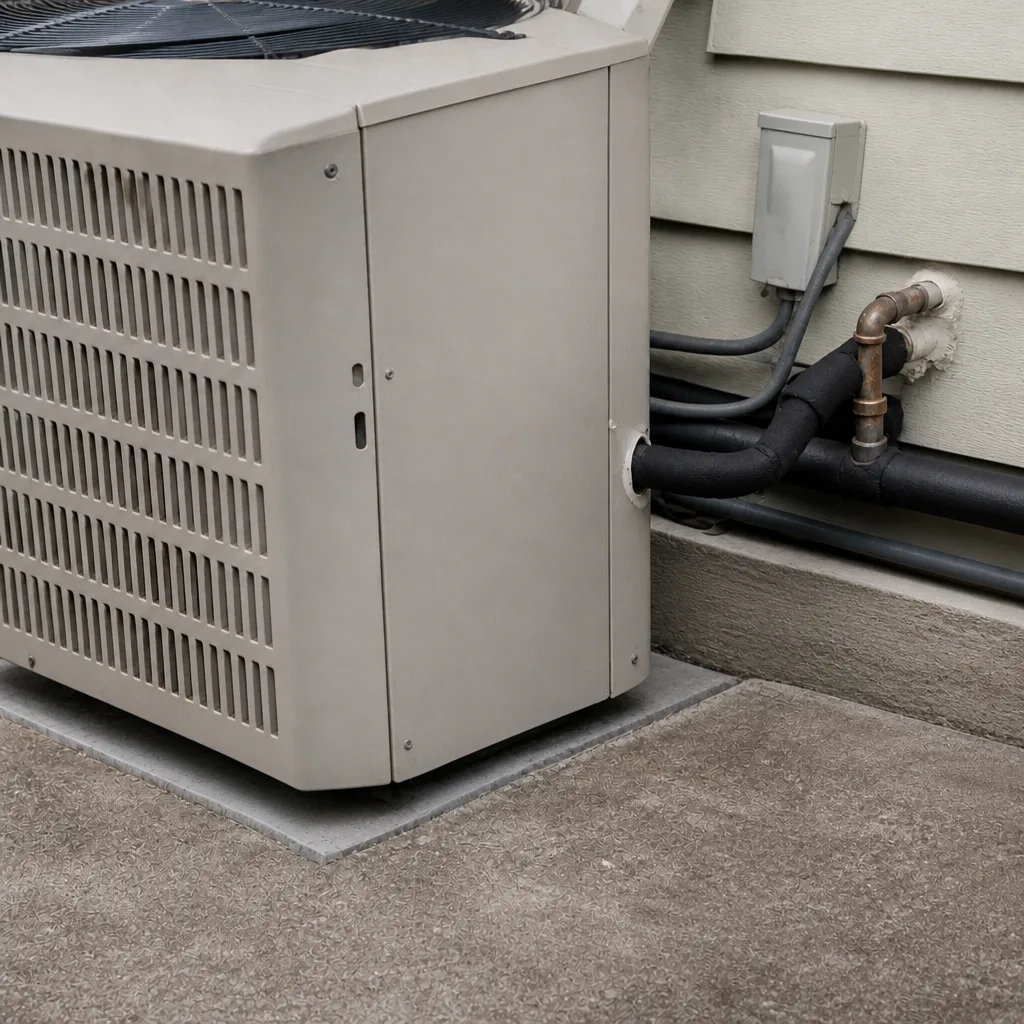
- Clear the outdoor unit. Remove leaves, cobwebs, and any debris from the top grille and side louvers. Keep two feet of clearance around the cabinet.
- Rinse the condenser coil. A gentle hose spray from the inside out, with the power off at the disconnect, removes the seasonal dust film. Never use a pressure washer.
- Test the disconnect and breaker. Confirm the outdoor disconnect pulls cleanly and the breaker at the panel is not warm to the touch.
- Run the system for 20 minutes on cool. Note the supply air temperature at the nearest register and the outdoor fan sound. Both are baseline readings you’ll compare against later.
- Check the condensate drain. Pour a cup of water into the drain pan and confirm it flows freely. Standing water is a sign of a slow clog.
- Inspect the capacitor visually. A bulging top or leaking oil means the capacitor is failing and should be replaced before the heat arrives.
This pre-season pass is the highest-value hour you’ll spend on your HVAC all year. Most failures we see during Hayward’s first hot week trace back to something that was visible in early June: a worn capacitor, a clogged drain, a coil packed with debris. Catching any one of those before the heat event is a repair. Catching it during a heat wave is a repair plus a wait, because everyone calls the same week.
Dormant-Season Checks for a System That Sits Idle
Dormancy is the Hayward AC story that national checklists ignore. Between hot stretches, your system may go two or three weeks without running. Here’s what goes wrong during that quiet time, and what to check for.
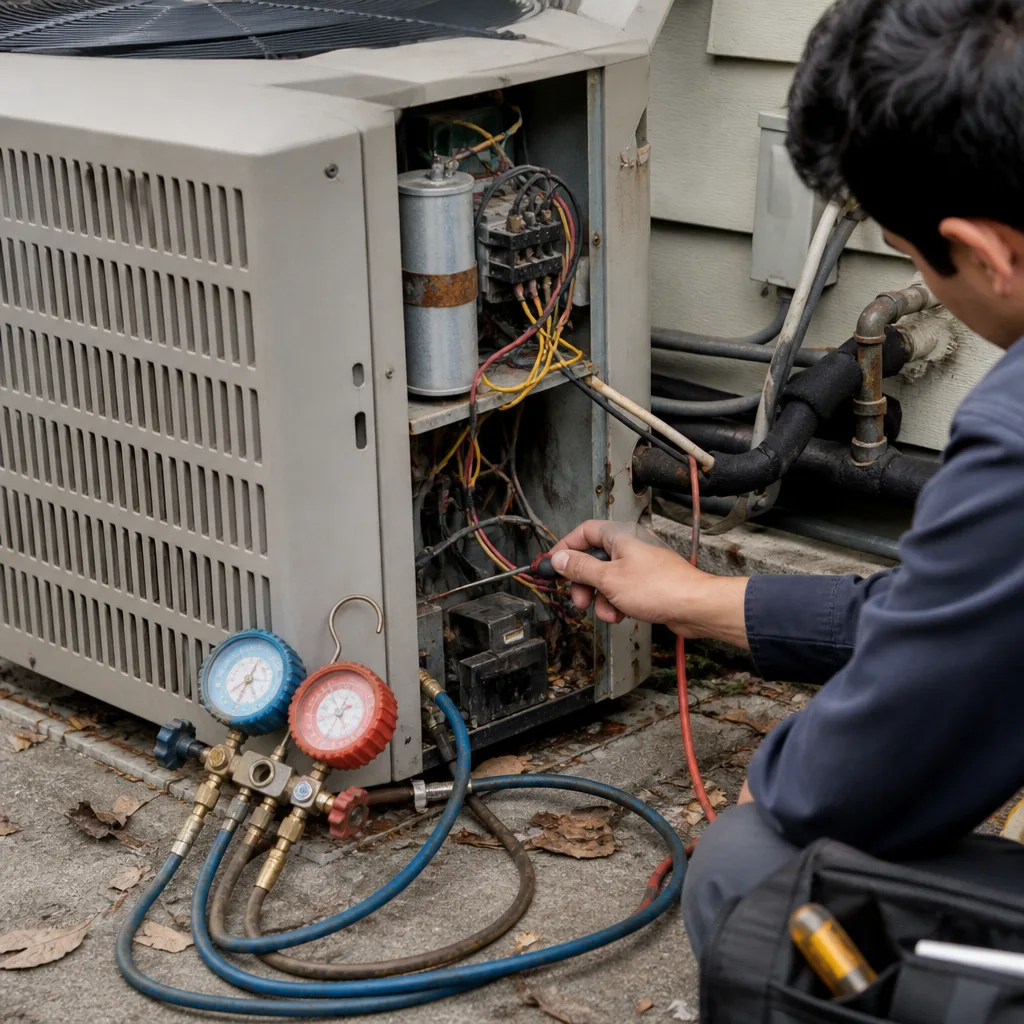
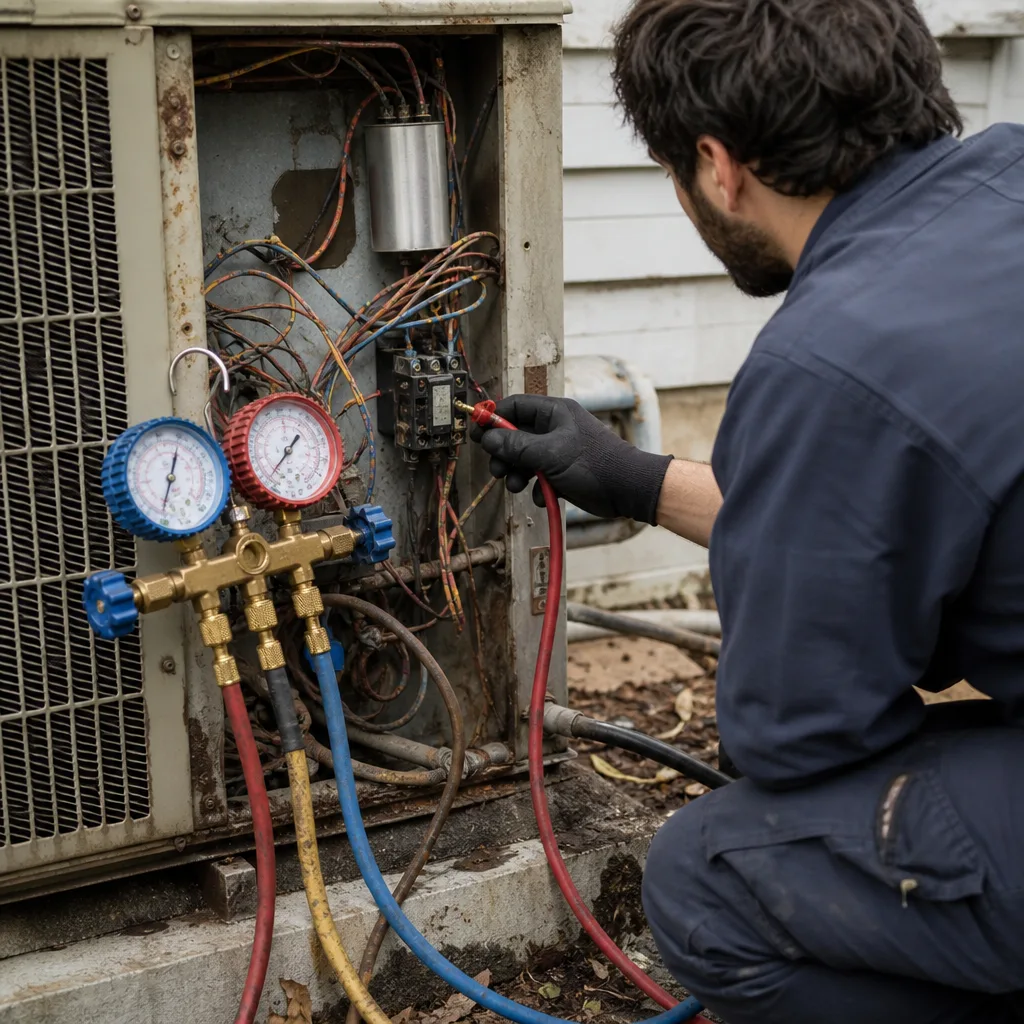
- Capacitor drain. Run capacitors lose capacitance gradually. A capacitor rated at 35 microfarads that’s drifted to 28 may still start the compressor on a mild day and fail on the first hot afternoon. A technician with a multimeter can measure capacitance in two minutes; a homeowner can’t reliably. Ask for a capacitance reading at every service visit and write down the number.
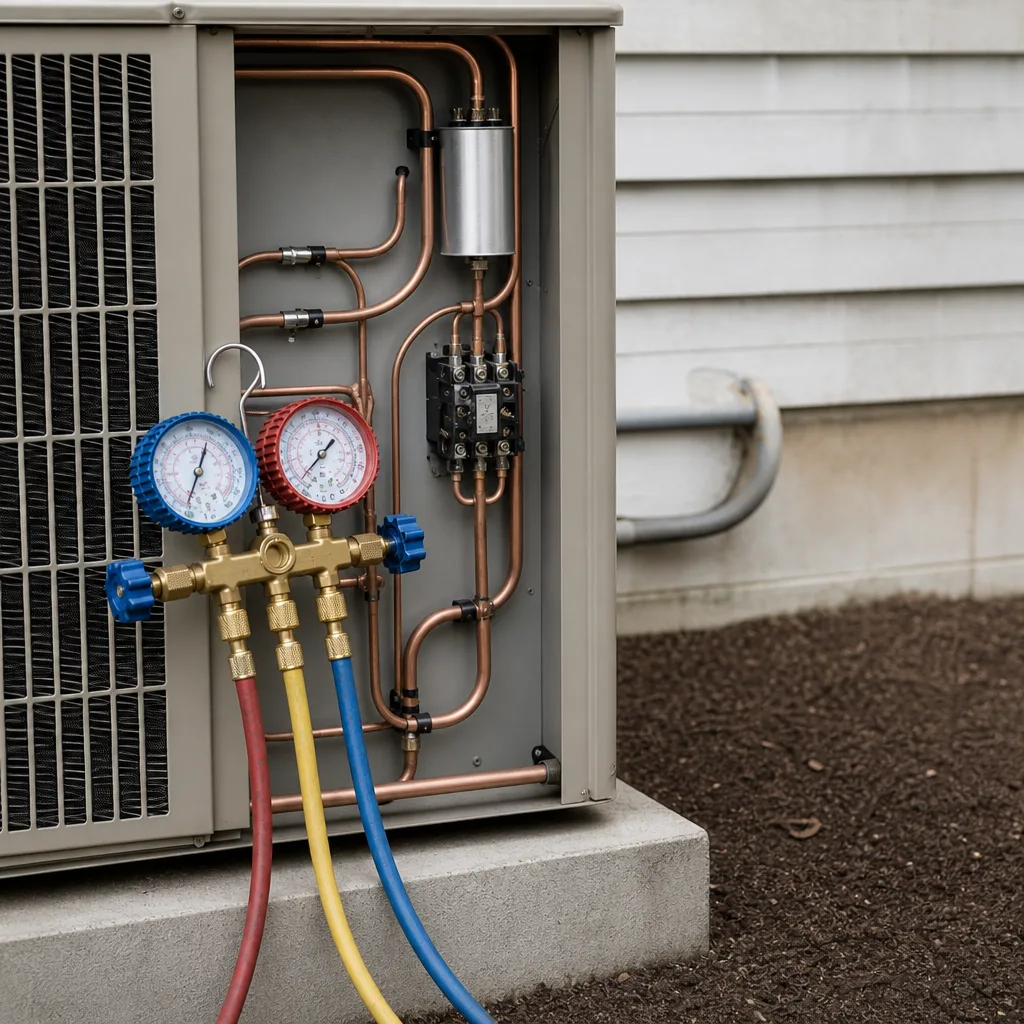
- Refrigerant pressure baseline. Pressure readings taken in cool weather are only useful if you have a baseline from a previous year at similar conditions. Without a baseline, a low reading gets misdiagnosed as a leak when the real cause is outdoor temperature. Insist that any pressure reading is recorded with the outdoor ambient temperature beside it.
- Blower motor lubrication and bearings. Blower motors in idle systems accumulate dust on the wheel and settle in their bearings. Listen for a low hum or a wobble when the fan starts. A motor that’s noisy on startup is usually a motor that’s close to failing.
- Contactor pitting. The contactor is the relay that switches the compressor. Sitting idle, its contacts oxidize; each startup then pits them a little more. A technician can inspect and clean them during a maintenance visit.
- Thermostat battery and calibration. Batteries age out during idle months. Replace them once a year and re-check the setpoint against a separate thermometer.
On systems from Trane, Lennox, and Rheem we’ve serviced in Hayward, the dormant-season checks above catch most pre-failure conditions we find before a heat event. On Goodman and other value-tier equipment, the capacitor and contactor are the two components we watch most closely because they’re the most common failure points on those platforms.
Inspecting the Outdoor Condenser Coil for Moisture and Corrosion
The outdoor condenser coil on a Hayward unit takes a beating from moisture cycling that an inland checklist won’t mention. The marine layer pushes humid air through the East Bay on most summer nights, and the coil is wet from 10pm to 8am on many of those nights. That’s not a corrosive coastal environment, but it is enough to accelerate oxidation on the aluminum fins and steel cabinet.
Here’s what to look for during a coil inspection, in plain terms.
- Fins that crumble when touched. Aluminum fins on an aging coil can lose material over time. If fins disintegrate when you brush them, the coil is nearing the end of its life and a technician should assess whether cleaning is still worthwhile.
- White or green deposits on the copper tubing. These are signs of oxidation at the tube joints. Left alone, they can lead to pinhole refrigerant leaks.
- Rust streaks on the cabinet. Surface rust on the cabinet itself is cosmetic. Rust bleeding from a seam or a bolt indicates moisture is getting inside.
- Debris packed between the coil and the cabinet. Leaf litter and grass clippings trapped at the base of the coil hold moisture against the metal. Clear it during every pre-season check.
For cleaning, a soft brush and a gentle rinse from the inside out handle most Hayward coils. A coil that’s heavily oxidized or packed with debris should be cleaned by a technician, because rinsing the wrong direction forces debris deeper into the fins. If you’re unsure how far gone the coil is, call (888) 870-1847 for a free estimate.
Filter Replacement Intervals for Hayward’s Dust Load
Hayward sits in a moderate dust environment: not the fine desert dust of the Central Valley, but more than the foggy, humid neighborhoods closer to the bay. That means the national “change your filter every three months” rule is roughly right for a Hayward home but too generous for anyone near a busy road, a construction site, or with pets.
Use this guide to set your own interval:
- 1-inch fiberglass or basic pleated filter: every 60 to 90 days for most Hayward homes. Shorter if you have pets or live near a busy street.
- 1-inch high-MERV pleated filter (MERV 11 or higher): every 90 days at most. These filters load faster than basic filters and restrict airflow when dirty.
- 4- to 5-inch media cabinet filters: every 6 to 12 months. These hold more dust and are the cheapest filter type to run long term.
- Washable electrostatic filters: clean every 30 days. They clog faster than disposable filters and put more strain on the blower when neglected.
Don’t guess at the interval. Pull the filter once a month, hold it up to a light, and look for the point where you can’t see light through the pleats. That’s when it’s time. In a Hayward home, we’ve seen filters that looked clean at 30 days and were fully loaded at 75. The honest answer is to check monthly and replace when dirty, not to trust a calendar.
Mid-Summer Checks: July and August
July and August are when the system earns its keep in Hayward. This is the mid-season check, and it’s the shortest of the three because most of the work was done in June.
- Walk the outdoor unit while it’s running. Listen for unusual sounds: a grinding compressor, a squealing fan bearing, or a rattle that wasn’t there in June.
- Smell the supply air. A musty smell points to a wet evaporator coil or a standing condensate issue.
- Check the condensate drain again. In Hayward’s mild humidity, drains clog slowly. A cup of water poured in once a month confirms flow.
- Look at the outdoor coil fins. They collect pollen and grass in July. Rinse them off if they look cloudy.
- Note the indoor-outdoor temperature split. With the system running steady for 15 minutes, measure supply air and return air at the nearest register. A split of 16 to 22°F is typical for a healthy system. Note the number and keep it.
- Watch for short cycling. A system that turns on and off every 5 to 10 minutes instead of running long cycles is over-sized, low on refrigerant, or has a failing thermostat.
The mid-season pass is also the moment to check your filter. If it’s loaded, replace it. If you’re heading into the hottest week of the year with a dirty filter and a coil that hasn’t been cleaned, you’re stacking the conditions that cause a mid-heat event failure.
Post-Season Shutdown Checklist: October
The October shutdown matters in Hayward because the next several months are heating season, not cooling season. From a cooling standpoint, the goal is to leave the system clean and ready for a dormant winter.
- Run the system in cool one last time before the weather turns. A final 20-minute run confirms the compressor starts cleanly and the outdoor fan spins freely.
- Clean the condensate pan and drain. Standing water left in the pan through winter becomes a breeding ground for algae and mold.
- Rinse the condenser coil one more time. Remove leaves and debris that would sit against the coil through the wet winter months.
- Turn the thermostat to a heating mode test. Since we also service furnace repair, this is the moment to check the heating side of your system before the first cold night. Furnace failures discovered in December involve a longer wait than ones caught in October.
- Replace the filter one last time before winter. Write the date on it so you’ll know when it goes in.
- Write down the year’s readings. Capacitance, pressure with ambient, temperature split, filter dates. This log becomes the baseline for next spring.
If your system is a Rheem, York, or Bryant unit with a heat pump rather than a straight AC, the October shutdown should include a heating-mode run and a reversing valve check. On a Daikin or American Standard system with a variable-speed compressor, ask the technician to pull any stored fault codes from the control board at shutdown. Codes clear on their own; the history behind them is what tells you what’s coming.
What to Document so a Technician Diagnoses Correctly
The single biggest reason a diagnostic visit takes longer than it should is that the homeowner has no record of what the system has been doing. “It’s not cooling well” can mean thirty different things. “It’s running for 10 minutes, shutting off, coming back 3 minutes later, and the outdoor fan keeps running the whole time” narrows it to two or three.
Before any service call, write down:
- The exact symptom. Not “not cooling,” but “supply air is cool but the house stays at 78 when the thermostat is set to 72.”
- When it happens. Time of day, outdoor temperature, how long the system has been running, and how often it cycles.
- Sounds. A short description of what you hear at startup and during a run.
- Recent changes. A new filter, a new thermostat schedule, a recent power outage, or a breaker that was reset.
- System age and brand. The model number on the outdoor unit’s data plate, plus the brand. This lets us know on the phone which parts are likely candidates before we arrive.
- Any prior repairs. What was replaced and when. A capacitor replaced in June is a capacitor we don’t suspect in July.
Homeowners who keep this log get faster diagnoses and fewer return visits. That’s not a sales pitch; it’s a fact about how troubleshooting works. You can see the same checklist for the cooler months in our guide to AC repair and heating.
Common Mistakes to Avoid
Here are the specific mistakes we see most often in Hayward, in order of how much damage they cause.
- Skipping the pre-season check because “it worked fine last year.” Two years without a check means two years of capacitor drift, two sets of loaded filters, and two coils of debris. The system fails on the first hot weekend when the fix would have been a $30 part in May.
- Running a pressure washer on the outdoor coil. High pressure flattens the fins and destroys the coil’s heat transfer. A garden hose with a gentle spray is the only spray the coil should see.
- Using the most restrictive filter you can buy. A MERV 13 in a system designed for MERV 8 cuts airflow and freezes the evaporator coil on hot days. Match the filter to the equipment, not the marketing.
- Ignoring the thermostat schedule. A thermostat set to big swings between cool and off in the Bay’s mild weather can run the system through more cycles than necessary. Steady setpoints are easier on the compressor.
- Blaming the refrigerant first. Low refrigerant is a leak, not a normal condition. If a technician suggests a “top-off,” ask where the refrigerant went. A system that needs a recharge every year has an active leak that should be found before charging.
- Letting the external unit sit in a rain shadow. A condenser surrounded by a fence, a wall, or a deck doesn’t move enough air through the coil. Clearance matters more than it looks.
- Not replacing a bulging capacitor. A capacitor with a swollen top is a capacitor that’s going to fail. Replacing it during a service visit is cheap; replacing it during a heat wave is not, because everyone else is also waiting.
When to Call a Professional
Some checklist items are homeowner jobs. Others need a technician. Call a professional if you see any of the following: a capacitor with a bulging top or leaking oil, a burnt smell near the electrical panel, a breaker that trips when the system starts, ice forming on the indoor coil or refrigerant lines, standing water in the drain pan, refrigerant pressure that’s off by more than expected, or any noise from the outdoor compressor that wasn’t there last year. Electrical components and refrigerant handling are not DIY work, and a capacitor can hold a lethal charge even after the power is off. Leave those to a trained technician.
AC Repair Hayward offers free estimates in Hayward. Our technicians are experienced with nine major brands, including Carrier, Trane, Lennox, Goodman, and Rheem, which means the diagnosis fits the equipment you actually have. Call (888) 870-1847.
See the difference
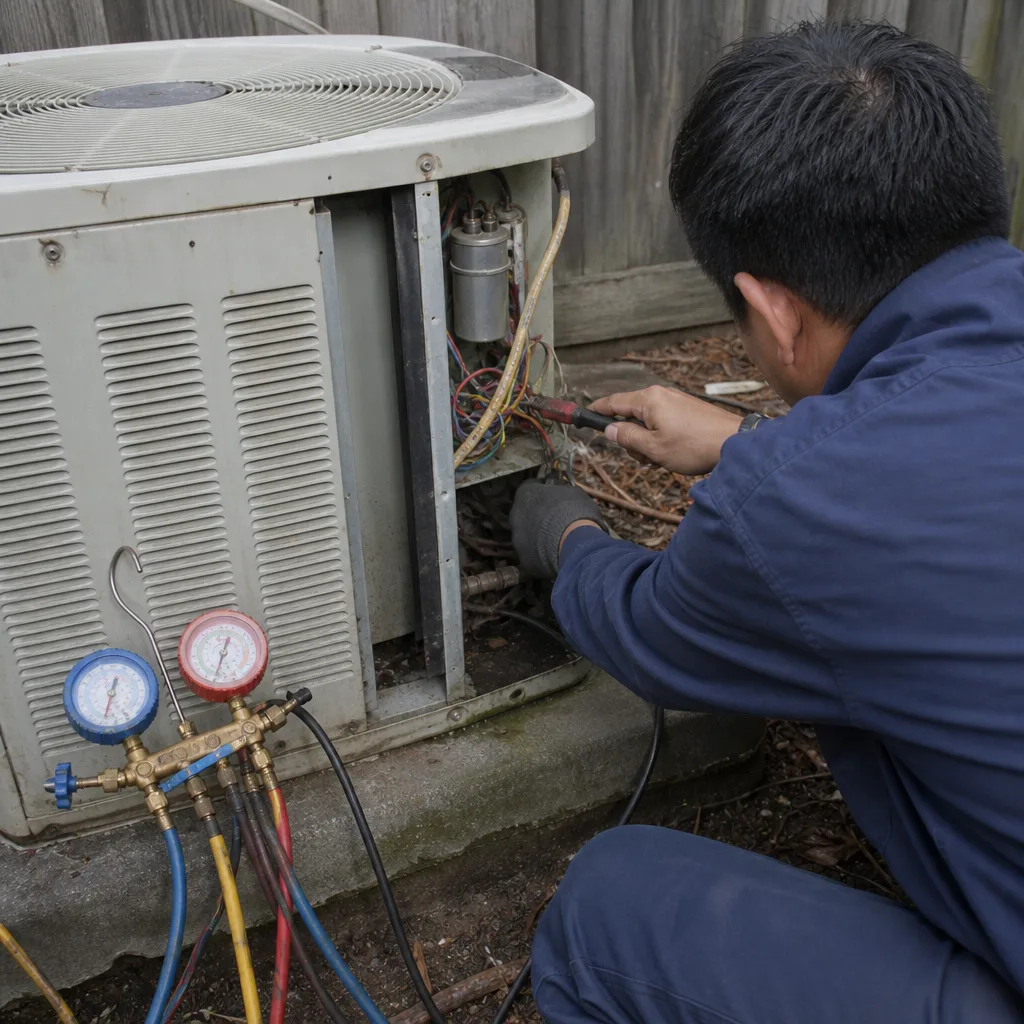 Before
 After
 Before
 After
 Before
 After
Frequently Asked Questions
Once a year in late spring, before the June-to-September heat window, plus a light mid-season check in July or August and a shutdown check in October. A Hayward AC doesn’t work as hard as one in a hotter climate, so annual professional service is the right frequency for most homes. Call (888) 870-1847 for a free estimate if you’re overdue.
Because the failures were there before the heat, just invisible. A weakened capacitor, a partially clogged coil, or a slightly undercharged system can run fine at 78°F outdoor temperature and fail at 92°F. That’s the argument for pre-season service in late May. Call (888) 870-1847 to book a pre-season check.
Usually no. Hayward’s dust load is lighter than the Central Valley’s, so a 60- to 90-day interval for a basic filter is typically right. The more important variable is your specific home: pets, nearby construction, and how close you are to a busy road each shorten the interval. Check monthly by holding the filter up to a light.
Yes for light dust and pollen: cut the power at the disconnect, remove the top grille if the manufacturer allows it, and rinse from the inside out with a garden hose. Never use a pressure washer, and don’t attempt a deep clean if the coil is heavily oxidized or the fins crumble. Call (888) 870-1847 for a professional clean if you’re unsure.
We’re certified to service nine of the most common residential HVAC brands: Carrier, Trane, Lennox, Goodman, Rheem, York, Daikin, Bryant, and American Standard. That covers both premium and high-value equipment, so the diagnosis and the recommendation fit your system. Call (888) 870-1847 for a free estimate.
Yes. Our October shutdown section includes a heating-mode run because Hayward’s cooling season and heating season overlap in the same equipment, and a furnace failure in December is worse than one caught in October. We handle AC repair, AC installation, and furnace repair under one roof. Call (888) 870-1847.
Frequently Missed Checks and Why They Matter
Here’s the short list of items Hayward homeowners skip most often, in order of how often they lead to a service call that could have been avoided.
- Capacitor capacitance reading. Visual inspection misses most failures. A capacitor can look fine and be 20% off its rated microfarads. Ask for a reading at every service visit.
- Outdoor ambient temperature alongside pressure readings. A pressure number without the outdoor temperature is useless. Insist both are recorded.
- Filter date written on the frame. A date on the filter saves you from guessing whether it went in two months ago or six.
- Condensate drain test. A cup of water poured in once a month is the cheapest flood prevention you’ll ever do.
- Breaker temperature check. A breaker that’s warm to the touch with the system running is a warning sign, not normal.
- Model number and brand noted on the thermostat. When you call, having the model number ready cuts the diagnostic time in half.
Each of these takes under five minutes and helps a technician narrow the diagnosis before they arrive. That’s the whole point of a checklist: it’s not about doing the work yourself, it’s about knowing what to look at and what to write down. For more on how we diagnose systems in Hayward, see our Hayward service page.
The Bottom Line
A Hayward AC checklist is a seasonal calendar, not a task list. The system here doesn’t wear out from heavy use; it wears out from dormant stretches, marine-layer moisture, and the moment you finally need it. Late spring service before the June-to-September heat window catches most failures before they happen. Mid-season checks in July and August confirm the system is running cleanly through the hottest weeks. An October shutdown prepares both cooling and heating for the months ahead. And a written log of readings, symptoms, and repairs makes every diagnosis faster. Our technicians have up to 10 years of experience across nine major HVAC brands, so the advice fits your actual equipment.
Ready for a Pre-Season Check?
If you’re in Hayward and your system is due for a pre-season pass, we’d be glad to walk the checklist with you. We handle AC repair, AC installation, and furnace repair for every major brand we service, which means one call covers the whole system. Call (888) 870-1847 for a free estimate. We answer 24/7. Fast dispatch from 7am to 7pm, Sunday through Friday. Our technicians are experienced with Trane, Lennox, Carrier, Goodman, Rheem, York, Daikin, Bryant, and American Standard, so we can diagnose the equipment you actually own.
Written by the team at AC Repair Hayward.